Home › Advice › Moisture Drainage › Test a Sump Pump Without Creating a Flood
Test a Sump Pump Without Creating a Flood
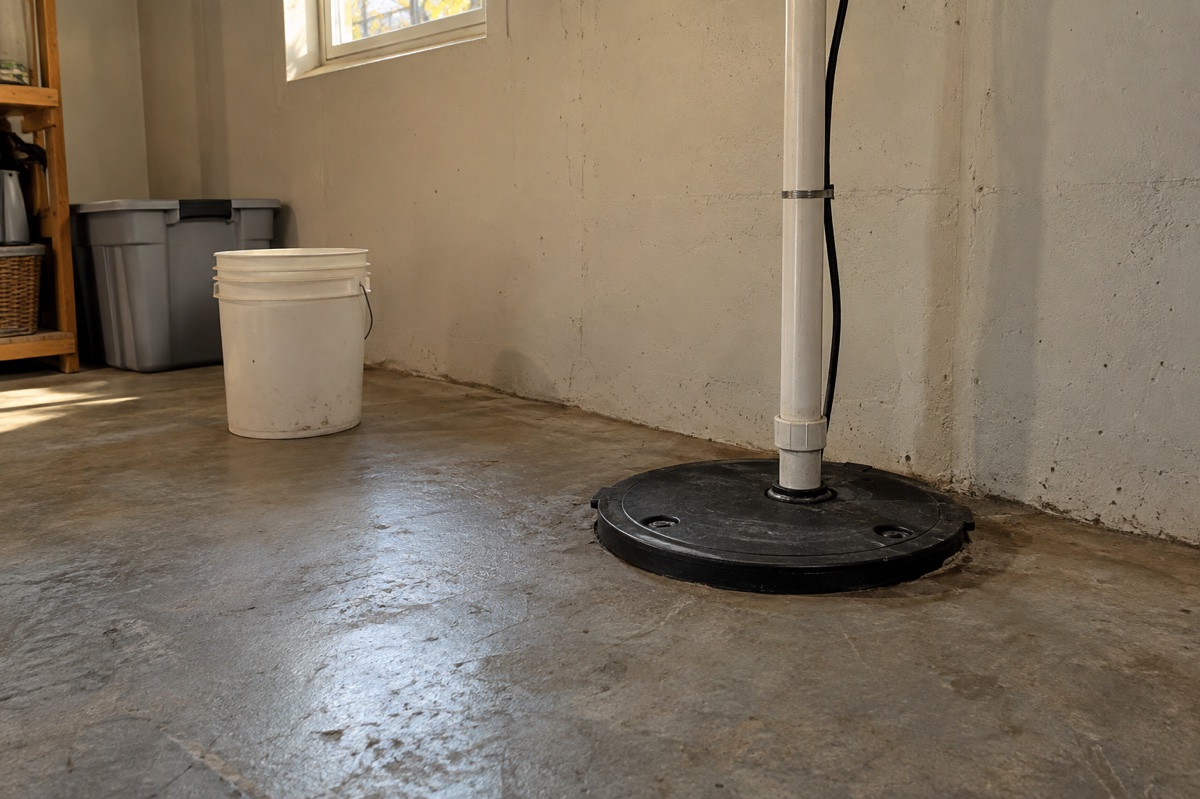
Start with your sump pump's owner manual, not a bucket of water. Only do a slow-water test if the manual allows it and you have safe access on a dry floor. Keep sealed or radon-system lids closed. If the instructions or access are unclear, book a plumber. During an allowed test, stay beside the pit and stop adding water at the first sign that the pump is not keeping up.
Decide whether this is your test to do
Find the model in your home records or on a label you can see without reaching into the pit. Read its test method, safe water level, and cover instructions. Do not guess a fill level or remove bolts, seals, pipes, or wiring to gain access.
A closed lid is not an invitation to pry it off. If your system has a sealed cover, a radon connection, or no clear owner access, leave it shut and arrange service. Keep children and pets away from the area.
North Dakota State University Extension recommends a check before spring thaw. Use your manual's schedule for your pump. A calm day gives you time to arrange repairs; a brief successful test cannot promise that the pump will handle a future storm.
Check the floor, power, and outside pipe
Before bringing water near the pit, look for these stop signs:
- Water on the floor or no stable, dry place to stand.
- A wet, cracked, frayed, hot, or scorched cord or outlet.
- A history of the pump tripping a breaker.
- A missing or damaged cover that you cannot safely secure after the test.
Stop and arrange qualified service for those problems. Do not touch damaged electrical parts. For smoke, fire, or active sparking, leave and call emergency services from safety. CDC says not to operate power switches or electric tools while standing in water.
In safe weather, check the outside discharge before the test. NDSU advises checking for a blocked outlet and making sure water is directed away from the house. Note ice, dirt, or debris; do not begin pouring if the route appears blocked or you cannot confirm where it leads.
Add water only within the manual's limits
Use this sequence only when the manual permits a water test through safe owner access:
- Set down a manageable bucket on the dry floor. Keep the walking path clear.
- Use a flashlight to look through the allowed opening. If debris or access concerns need work, stop; do not reach inside.
- Add water slowly in small amounts, within the manual's test level. Keep water away from cords and plugs. Keep your hands out of the pit and off the float, pump, and wiring.
- Watch for the pump to start, the water level to fall, and the pump to stop. Stay at the pit throughout.
- Stop adding water if the pump does not start at the expected level, water keeps rising, or anything behaves oddly. Never fill near the rim or wait for overflow.
NDSU suggests observing two on/off cycles. Do that only if your manual allows it and the first cycle behaves as expected. Do not keep filling a pit to force a second cycle.
Record behavior without naming a failed part
Useful notes are plain: the pump hummed but the level did not drop; it kept running; the float seemed slow; or water rushed back after it stopped. NDSU flags gravel-like noise and a sluggish float as reasons for concern.
Stop the test and give those observations to a plumber. They do not establish a bad valve, worn bearing, or need for a new pump. Do not open the unit, free the float by hand, or repeat the test to diagnose it.
Keep one adult at the pit
If a second adult can safely observe outside, ask them to note whether water leaves the outlet and where it goes. They should stay clear of the flow and report any pooling by the wall.
If you are alone, skip the outside observation. Do not leave an open pit or an active test unattended. Ask a plumber to check the discharge route if you cannot observe it safely. The moisture and drainage guides cover other clues to discuss when water collects near the foundation.
Close the test and plan the next check
Record the date, manual used, cycles observed, water-level change, odd sounds, and whether someone saw the outside flow. Mark skipped checks as not observed. A photo of an accessible model label can help a plumber prepare.
Restore any owner-access cover as the manual directs. University of Minnesota Extension calls for an airtight, childproof sump cover. A missing, loose, or damaged one needs correction; do not treat the old condition as proof that it is safe.
Ready.gov recommends considering a battery-powered sump pump and check valves. Ask your plumber which backup and test method fit your system. Add the manual's next check date to your seasonal home schedule so the record leads to a specific next action.
Quick answers
- How often should I test a sump pump?
- Follow the schedule in your pump's owner manual. NDSU Extension recommends checking before spring thaw. If you cannot find the manual or identify the pump, ask a licensed plumber to show you the right check.
- Should I lift the float or run the pump dry?
- Do not use a generic dry-run or hands-on float test. Pumps and switches differ. Follow the exact manual, keep sealed or radon-system lids closed, and ask a plumber if safe access is unclear.
- What if the pump runs but no water leaves the pit?
- Stop adding water. Keep your hands out and do not open the pump. Record what you saw and call a plumber. A sound alone does not tell you which part has failed.
Keep your home plan moving
Get the free Seasonal Home Maintenance Schedule
Month-by-month checklist for your state — roof, gutters, HVAC and more. Plus license-lapse alerts for contractors you're considering.
We don't sell your email address. See our privacy policy.
Sources
- Now is the Time to Check Your Sump Pump — North Dakota State University Extension
- Moisture in Basements: Causes and Solutions — University of Minnesota Extension
- Floods — Ready.gov (FEMA)
- Safety Guidelines: Reentering Your Flooded Home — Centers for Disease Control and Prevention